How to repair a leak in Pex tubing?
Leave a message
Hey there! As a Pex tubing supplier, I've seen my fair share of leaks in Pex tubing. It can be a real pain in the neck, but don't worry – I'm here to walk you through how to fix those pesky leaks. In this blog, I'll break down the steps to repair a leak in Pex tubing, so you can get your water system back in tip - top shape.
Step 1: Identify the Leak
The first thing you gotta do is find where the leak is. Sometimes, it's obvious – you might see water dripping or pooling around a section of the Pex tubing. Other times, it can be a bit trickier. Look for signs of water stains on walls or floors near the tubing. You can also feel along the tubing for any wet spots. If you suspect a leak but can't find it easily, you might need to turn off the water supply and pressurize the system with air. This can help make the leak more visible as air will escape from the hole or crack.
Step 2: Gather Your Tools and Materials
Once you've found the leak, it's time to gather what you'll need to make the repair. You'll typically need a pair of Pex cutters, replacement Pex tubing sections (make sure they match the size of your existing tubing), Pex fittings like couplings or elbows, and a crimping tool. If you've got a smaller leak, you might be able to get away with using Pex repair clamps instead of cutting out and replacing a section.
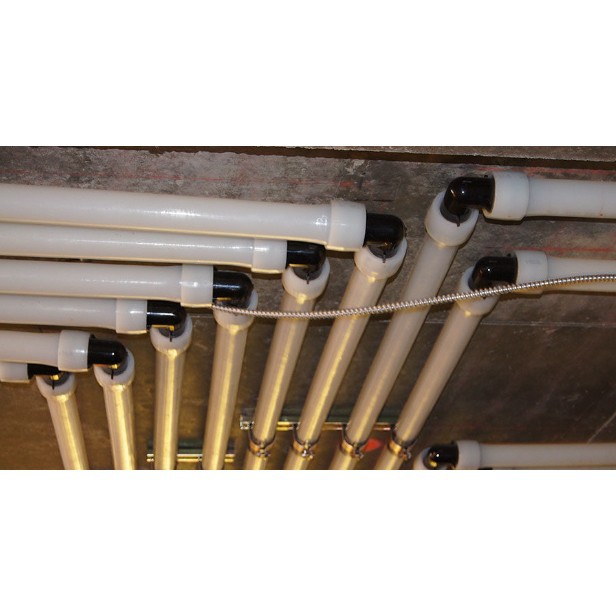
Here are some great products you might find useful for this repair. Check out our PE-Xa Pipe Watermark which offers high - quality Pex pipes. And if you need a fitting, our Ppsu Elbow 90° is a solid choice. Of course, for your overall water supply needs, our PEX Pipe for Water Supply is top - notch.

Step 3: Turn Off the Water Supply
Before you start cutting or making any repairs, turn off the main water supply to your home or the section of the plumbing where the leak is located. This will prevent water from gushing out when you start working on the tubing. It's also a good idea to open a nearby faucet to relieve any remaining pressure in the pipes.
Step 4: Cut Out the Damaged Section
If the leak is in the middle of a Pex tubing run, use your Pex cutters to remove the damaged section. Make sure you cut straight across the tubing for a clean edge. Measure the length of the section you removed – you'll need to cut a new piece of Pex tubing to the same length.
Step 5: Prepare the New Tubing and Fittings
Take your new Pex tubing and insert it into the appropriate Pex fitting. If you're using a coupling, insert one end of the new tubing into the coupling, then insert the other end of the coupling onto the existing Pex tubing. Make sure the tubing is pushed all the way in until it reaches the stop in the fitting.
Step 6: Crimp the Fittings
If you're using a crimp - style fitting, place the crimp ring over the tubing and into the fitting. Then, use your crimping tool to compress the crimp ring. Make sure you apply enough pressure to create a tight seal. You can tell if the crimp is done correctly by checking that the ring is evenly compressed around the tubing.
Step 7: Check for Leaks
Once you've completed the repair and re - assembled the tubing, turn the water supply back on. Check the repaired area for any signs of leaks. If you see a small drip, it might just be some residual water coming out. But if the leak persists, you may need to re - check your fittings and crimps.
Tips for a Successful Repair
- Measure Twice, Cut Once: This old saying still holds true. Double - check your measurements before you make any cuts to ensure a proper fit.
- Keep Your Tools Clean: Dirty tools can contaminate the Pex tubing and fittings, leading to potential leaks in the future. Clean your Pex cutters and crimping tool regularly.
- Use Quality Products: Don't skimp on Pex tubing and fittings. Investing in high - quality materials will make your repair last longer and reduce the chances of future leaks.
When to Call a Professional
Sometimes, a leak in Pex tubing can be more complicated than it seems. If you're not confident in your ability to make the repair, or if the leak is in a hard - to - reach area, it might be a good idea to call a professional plumber. They have the experience and specialized tools to handle more complex repairs.
Conclusion
Fixing a leak in Pex tubing doesn't have to be a nightmare. By following these steps and using the right tools and materials, you can get the job done yourself. As a Pex tubing supplier, we're here to offer you the best products for your plumbing needs. Whether you're a DIY enthusiast or a professional plumber, our range of Pex tubing and fittings can help you tackle any repair.
If you're interested in purchasing Pex tubing or fittings for your next project, don't hesitate to reach out. We're always ready to assist you with your procurement needs and are happy to have a chat about how our products can fit your specific requirements.
References
- "Pex Plumbing Installation Guide"
- "Home Plumbing Repair Handbook"


