How to install Pex Anti UV Pipe?
Leave a message
Hey there! As a supplier of PEX Anti UV Pipe, I'm super stoked to share with you how to install this awesome product. PEX Anti UV Pipe is a game - changer in the plumbing world, offering durability and protection against harmful UV rays. So, let's dive right in!
What You'll Need
Before you start the installation, gather these tools and materials:
- PEX Anti UV Pipe (click here to check it out)
- PEX fittings
- PEX crimping tool or expansion tool (depending on the fitting type)
- Measuring tape
- Pipe cutter
- Deburring tool
Step 1: Planning Your Installation
First things first, you gotta plan out where you're gonna install the PEX Anti UV Pipe. Take a good look at the area and figure out the best route for the pipes. Consider factors like the location of water sources, the layout of the building, and any obstacles you might encounter. Make sure to measure the distance accurately so you know how much pipe you'll need.
Step 2: Cutting the Pipe
Once you've got your measurements, it's time to cut the PEX Anti UV Pipe. Use a pipe cutter to make clean, straight cuts. Make sure the cutter is sharp to avoid any ragged edges. After cutting, use a deburring tool to smooth out the inside and outside of the cut end. This is important because rough edges can cause problems when fitting the pipes together.
Step 3: Selecting and Preparing the Fittings
There are different types of PEX fittings available, such as compression fittings, crimp fittings, and expansion fittings. For this installation, I'll focus on crimp fittings as they're quite popular.
- Crimp Fittings: Slip a crimp ring onto the PEX Anti UV Pipe, followed by the fitting. Make sure the pipe is fully inserted into the fitting until it reaches the stop.
Step 4: Crimping the Fittings
Now, it's time to use the crimping tool. Place the crimp ring in the jaws of the tool at the correct position on the pipe and fitting. Squeeze the tool firmly until you hear a click or feel the ring compress. Check the crimp to make sure it's tight and even. If it looks loose or uneven, you may need to cut the end of the pipe and start over.
Step 5: Connecting the Pipes
Start connecting the cut pipes with the crimped fittings. Make sure to align the pipes properly and double - check the connections. You can use a measuring tape to ensure that everything is in the right place. As you go along, support the pipes to prevent them from sagging or moving out of position.

Step 6: Testing the System
Once you've completed the installation, it's crucial to test the system. Turn on the water supply and check for any leaks at the fittings. If you find a leak, turn off the water, remove the fitting, and re - crimp it or replace it if necessary. It's better to catch and fix any issues early on.
Step 7: Protecting the Pipes
Since this is PEX Anti UV Pipe, it already has some protection against UV rays. However, if the pipes are exposed to direct sunlight for long periods, you can consider using additional insulation or covering. This will help extend the lifespan of the pipes and keep them in top condition.
Other Related Products
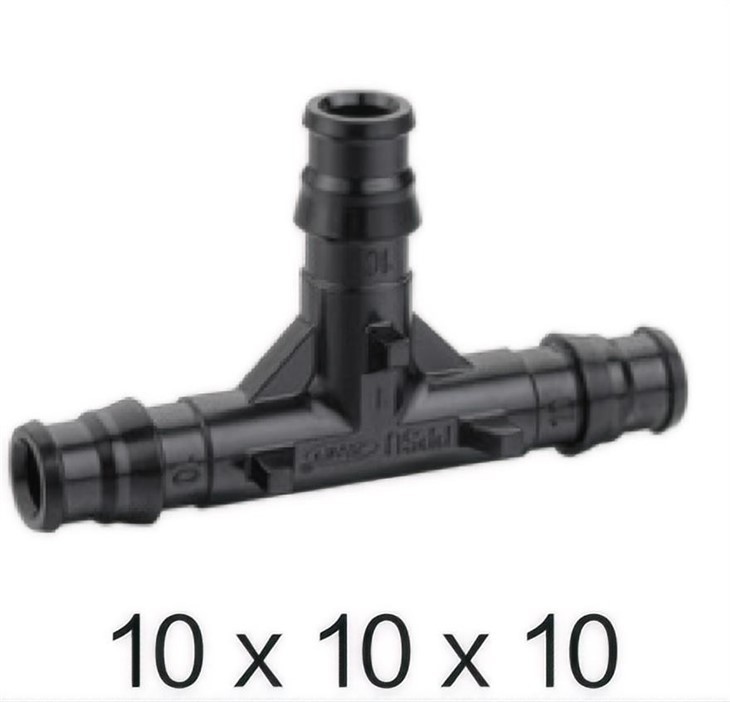
While you're working on your plumbing project, you might also need other related products. For example, the PPSU Tee is a great option if you need to create a branching point in your pipe system. And if you're looking for a high - quality pipe with NSF certification, check out the PE - Xa Pipe NSF.
Conclusion
Installing PEX Anti UV Pipe isn't as hard as it might seem. With the right tools, a bit of planning, and some careful work, you can have a great - looking and functional plumbing system. If you're interested in purchasing PEX Anti UV Pipe or any of our other products, don't hesitate to reach out. We're here to help you with all your plumbing needs and can offer expert advice on your projects. Whether you're a DIY enthusiast or a professional plumber, we've got the products you need to get the job done right. So, why wait? Contact us today to start your next plumbing project with top - notch PEX Anti UV Pipe.
References
- "PEX Plumbing Installation Guide" - Plumbing Today Magazine
- "The Complete Handbook of PEX Pipe Systems" - Industry Press Publications


